-
Getting Started
-
Device Management
-
Automations
-
Dashboard
-
User Management
-
LoraWAN
-
API and Integrations
-
Boards
-
DIY
-
Gateway
Telemetry
On Telemetry Tab, you can see the list of the telemetry of your selected device. On the first page, you will see the default view of sensor telemetry.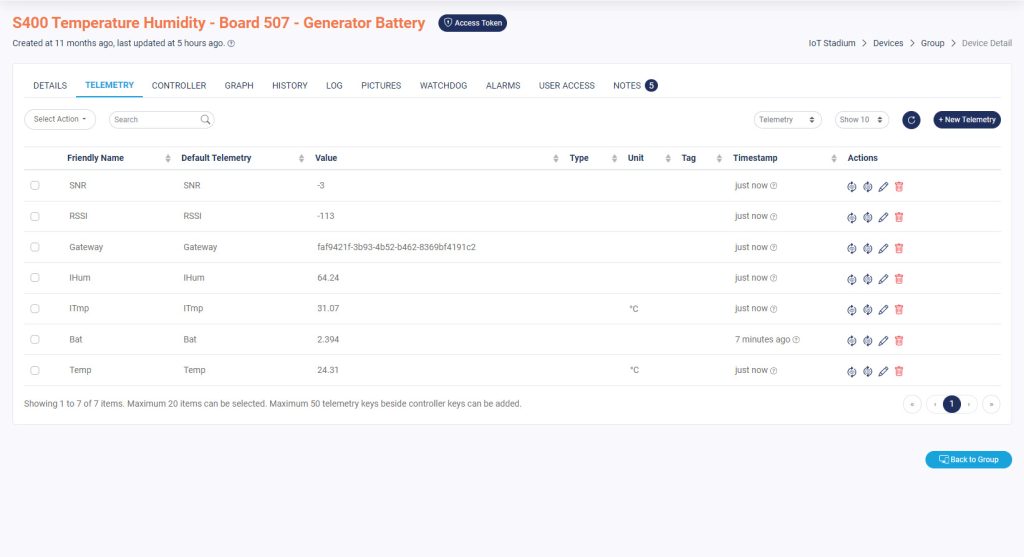
Details
Search Bar
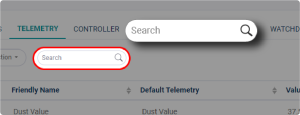
You can type words or phrases to find specific telemetry or telemetries.
Telemetry List Display
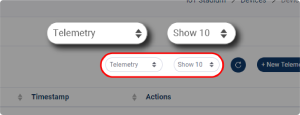
Set the preferred display set of telemetry list. You can show the list until 100 telemetries in one page. And filter the telemetries based on its types, ranged from only telemetry, all telemetry, or just the controller.
Refresh
Click it to refresh or update your Telemetry page.
Actions Column
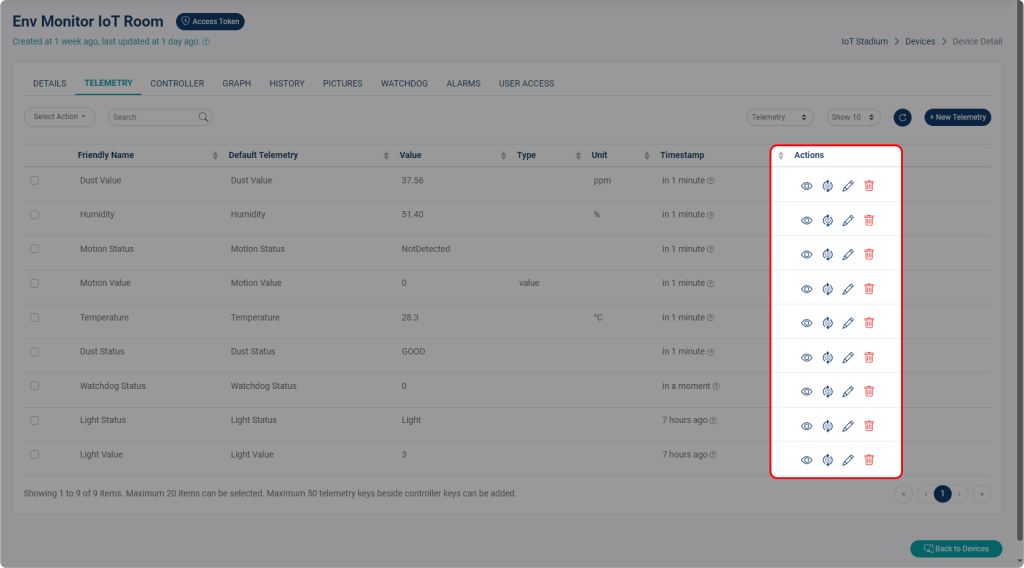
There are four icons below the Actions Colum: Automation Detail, Add Automation, Edit Telemetry, Delete Telemetry
Automation Detail
![]()
Click this icon to see if the selected telemetry was included in one of Automation setting. The number also shows how much telemetry is selected for automation.
Add Automation
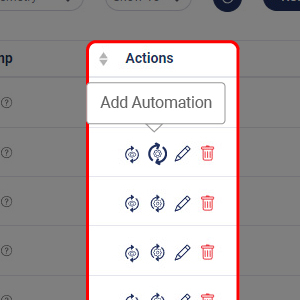
Click this icon to set an automation based on the selected telemetry.
Edit Telemetry
![]()
Click this icon to edit the detail of your selected telemetry.
Delete Telemetry
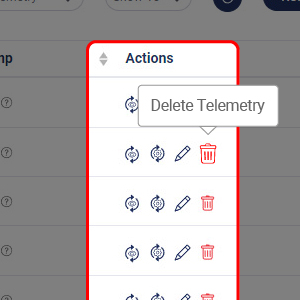
Click this icon to delete the selected telemetry.
Add New Telemetry
If you want to add new telemetry on your device, the IoT Stadium allows you to do so.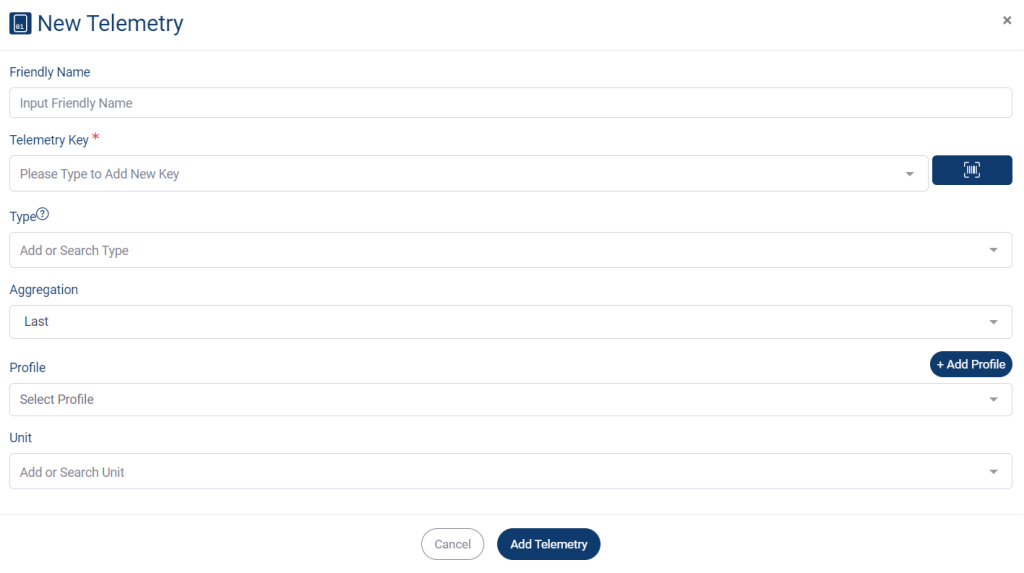
1. Click on the New Telemetry.
2. Fill the Friendly Name and its Telemetry Key.
3. Set the Type, Aggregation, Profile, and Unit.
4. Click Add Telemetry when done.
One of our unique features is the ability to add telemetry via camera. How does that work? Let’s say you’re already set a barcode for one of your telemetries. Then connect your camera to the PC; any camera will do as long as it can read the barcode. Our platform will assist the camera in scanning the barcode, thus adding the telemetry to the system.
1. Click on the scanner icon next to the Telemetry Key dropdown menu.![]()
2. Click on Configure Camera, then set the barcode formats that your camera would read. If you have multiple cameras connected to your PC, select one you want to use.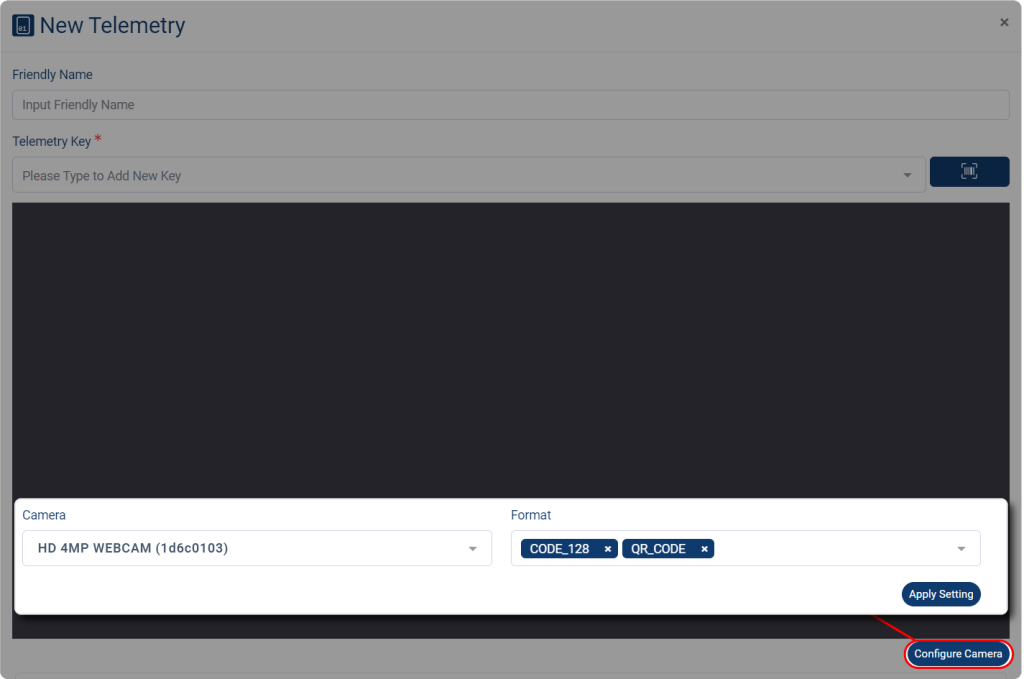
Note: IoT Stadium can process multiple barcode formats, and you can choose more than one format. To choose the format for your barcode, simply select it from the Format dropdown menu.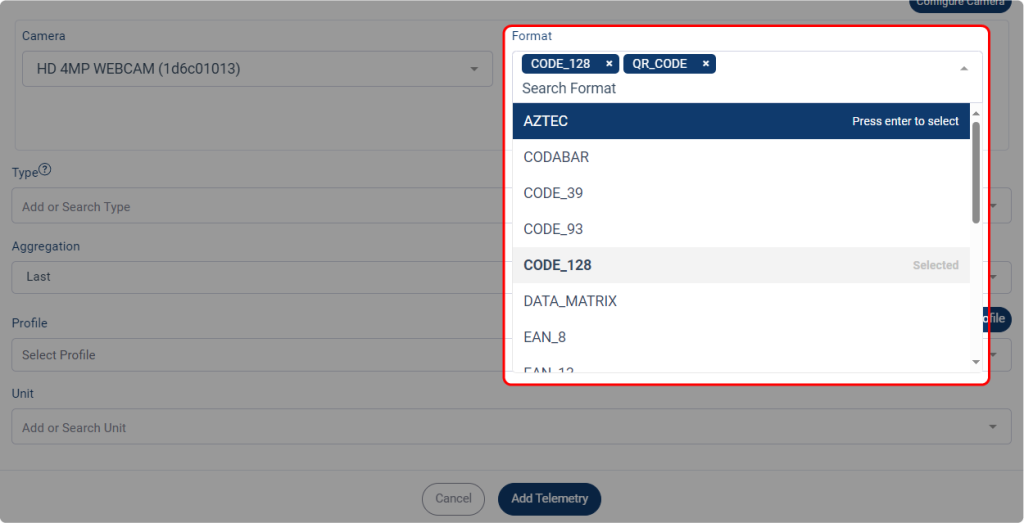
3. Bring your barcode-containing telemetry up close to the camera. The new telemetry key will be added upon the completion of the camera’s scan.
Edit the Telemetry
You can edit the Telemetry Name, its Value, Type and Unit.
Note: You can’t edit the Telemetry Key.
1. Click on Edit Telemetry.
2. Set the things you want to edit.
3. Click Update Telemetry when done
Create the Dashboard Widget
You could create a widget from your telemetry. Your widget then will be displayed on the Dashboard menu.
1. Click the box icon next to your telemetry name – you can select multiple telemetries.
2. Click Select Action.
3. Click Create Dashboard Widget.
4. Give the name for your Dashboard, or you can select available Dashboard.
5. Select the Widget Type and set its Width and Height.
6. You can change the Unit and Label of your selected telemetry.
7. Click Add Widget when done.
Group the Telemetries
You could also form a group from multiple telemetries. This action would be useful if you had several telemetries placed in the same location to read the same data, which is known as redundancy. More specifically, this method usually applied on several sensors, so this method called as sensor redundancy.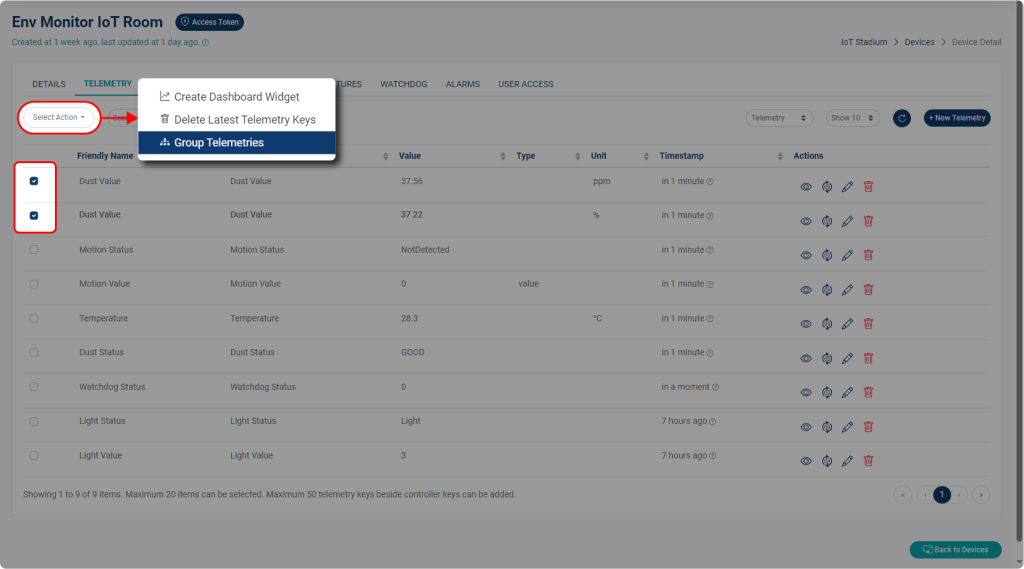
1. Click on several boxes before your selected telemetry.
2. Click on Group Telemetries.
3. Give a name for your group.
4. If you want to see your telemetry on the Device Status form, select “device_status” from the Type dropdown menu.
5. Set your desired Unit.
5. Click Add Telemetry when done
Edit the Group
Because the purpose of redundancy is to reduce the possibility of transmission errors, an accurate value from multiple telemetries is required. There may be an issue if one of the telemetries has a significantly different value than the others.
This feature allows you to select which telemetry will be the primary telemetry. A line chart for your grouped telemetry was also included on this page.
1. Click Edit Telemetry
2. Do the edit on things that you want.
3. Switch on which telemetry that will act as the main telemetry for your group by clicking on the dot.
4. Click Update Telemetry when done.

