-
Getting Started
-
Device Management
-
Automations
-
Dashboard
-
User Management
-
LoraWAN
-
API and Integrations
-
Boards
-
DIY
-
Gateway
Pictures
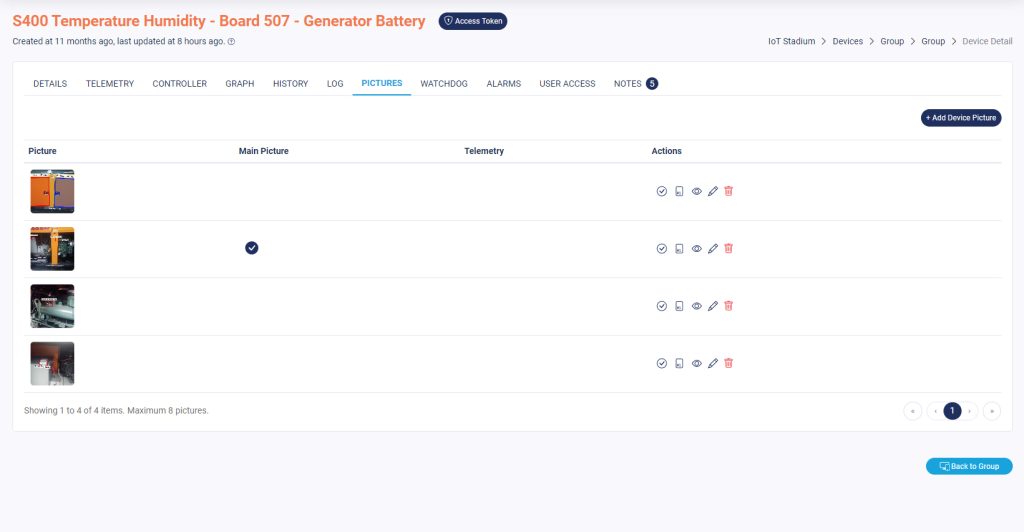
We understand how difficult it is to remember a series of label codes, so we provide you a feature to upload pictures to mark your devices or sensors.
In this tab, you will find a list of pictures you already added for your device.
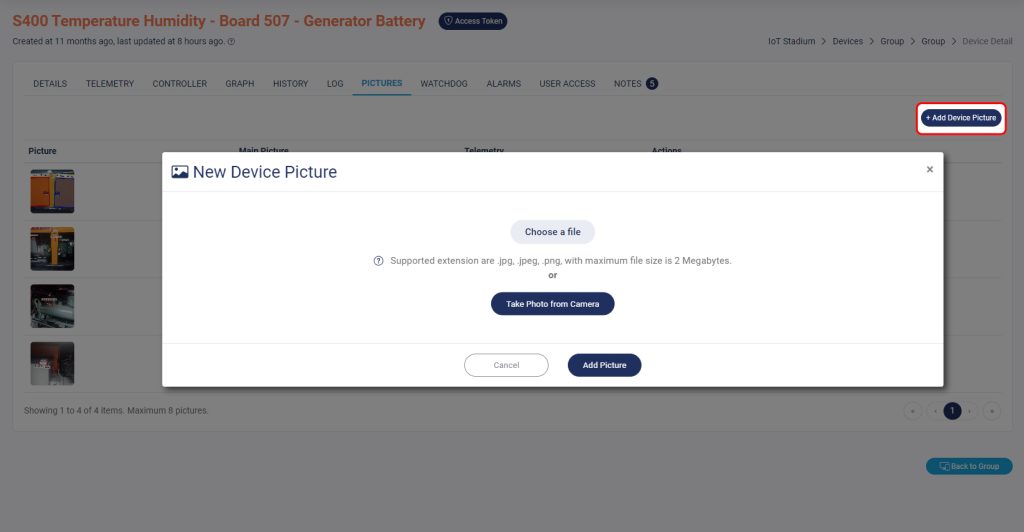
To add new picture:
1. Click on Add Device Picture.
2. You may take a picture from your camera or your file.
3. Capture or select your picture.
4. Give a name for your picture.
5. Click Add Picture when done.
You could also give a label for your picture.
1. Select one of the labels: circle, square, or line.
2. Drag it on the desired position.
3. You could also change the color and the stroke thickness of your label.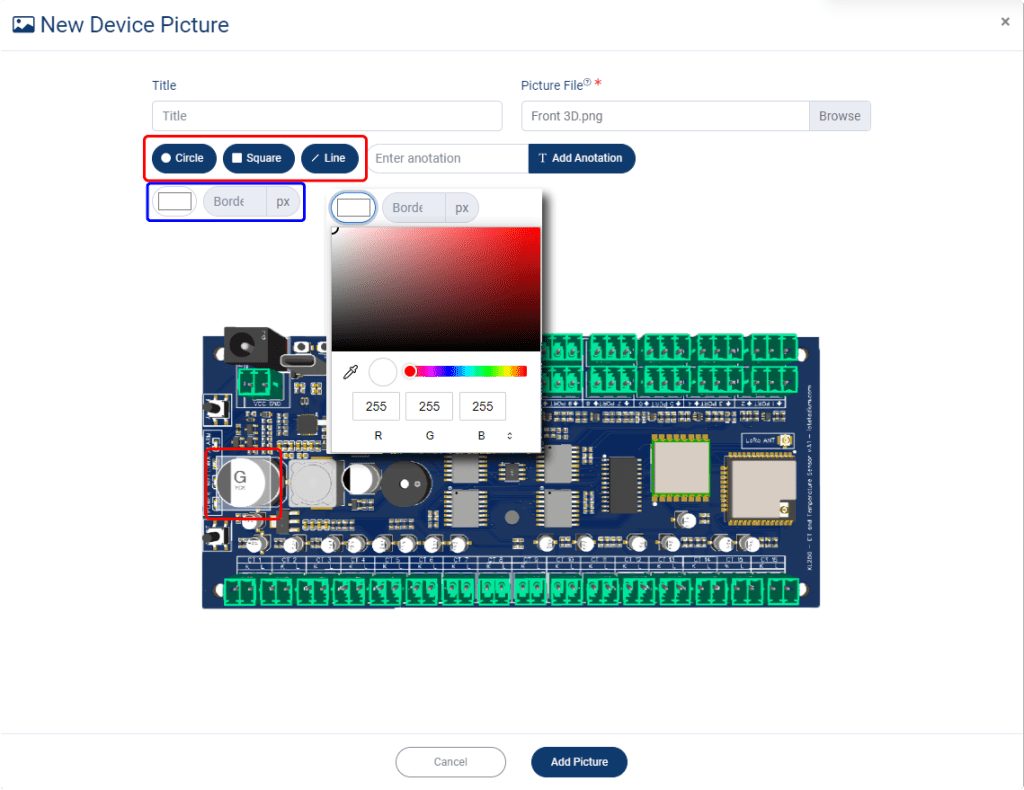
4. You could also add the annotation for your label by type it on Enter Annotation, then click Add Annotation when done.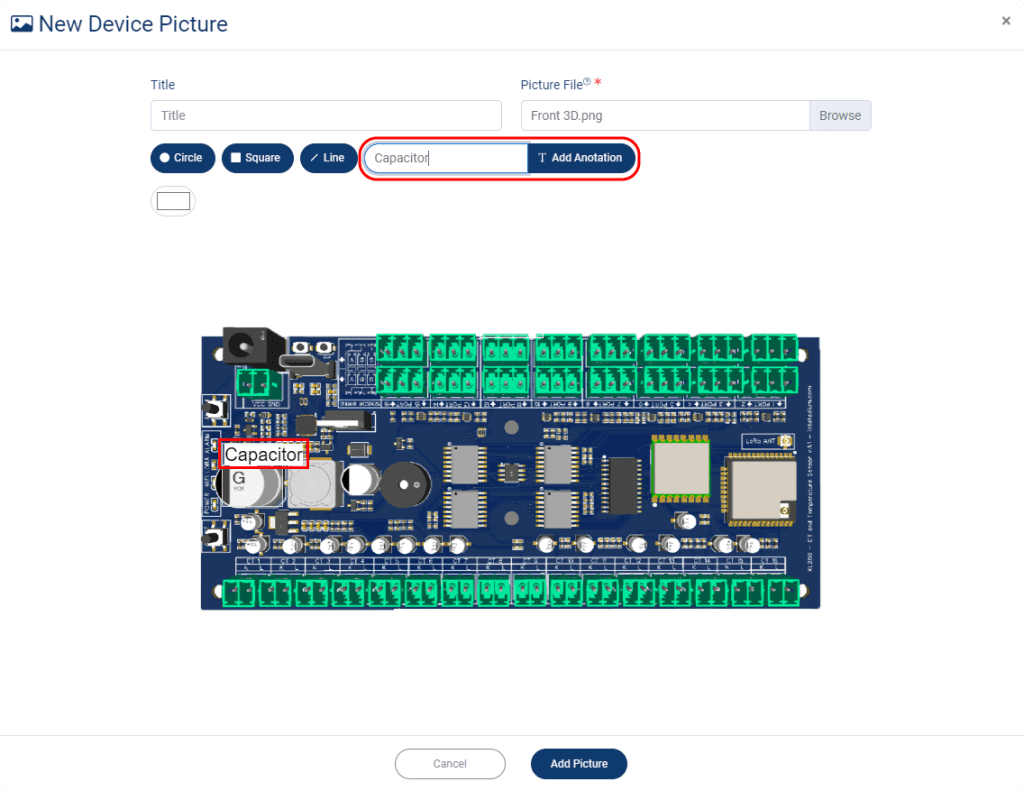
Tips: You could resize all the label by dragging it.
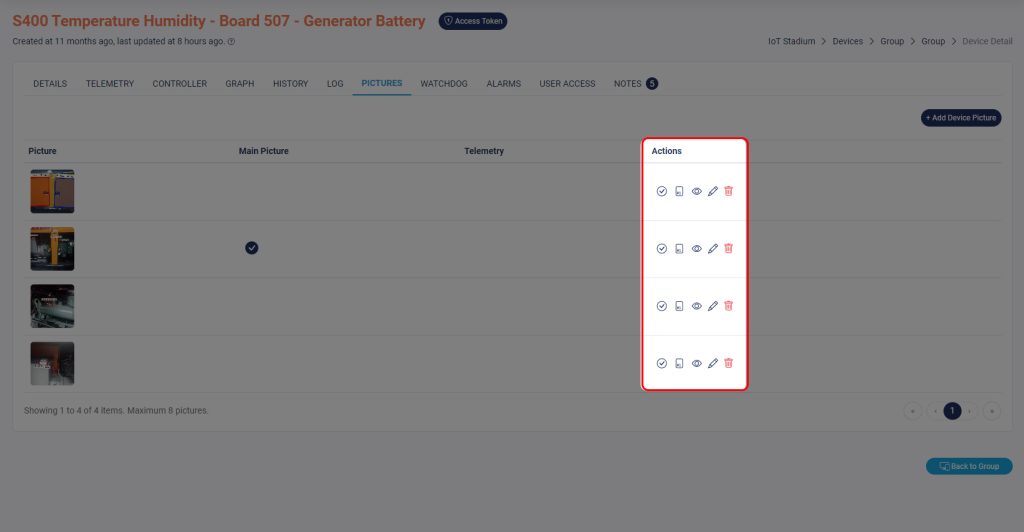
Action Column
1. Set Main Picture
Click this icon to set the selected image as main picture for selected device.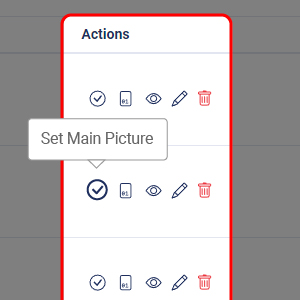
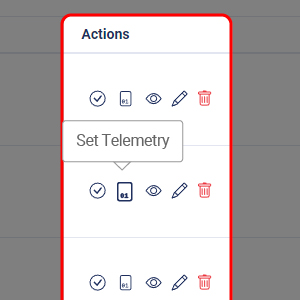
2. Set Telemetry
Click this icon to the selected image as one of picture for the telemetry/es.
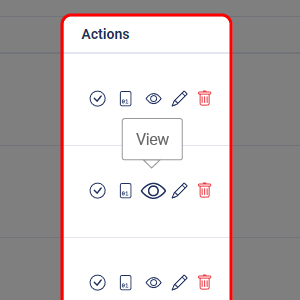
3. View
Click this to view the picture.
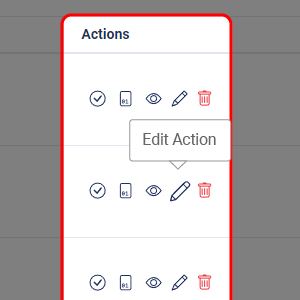
4. Edit Action
Click this to edit your picture.
5. Delete Action
Click this to delete your picture.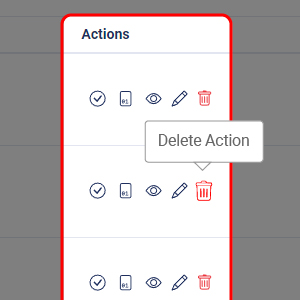
Set as Main Picture
You can set the added picture as the main picture for your device. The main picture will be displayed on the Details tab.
1. Click on Checklist Icon to set it as the main picture.
2. Click on Set Main Picture.
3. The selected picture will be set as the main picture.
Set as Telemetry Picture
You can also set the picture for one of your telemetries.
1. Click on Box Icon to set is as the telemetry picture.
2. Select your Telemetry. You could select multiple telemetries.
3. Click on Update Picture Telemetry when done.


