LoRa Gateway
LoRa Gateway is a gateway that communicates using LoRa. This compact device acts as intermediary devices that receive and transmit LoRa signals between end devices and the server.
Preparation
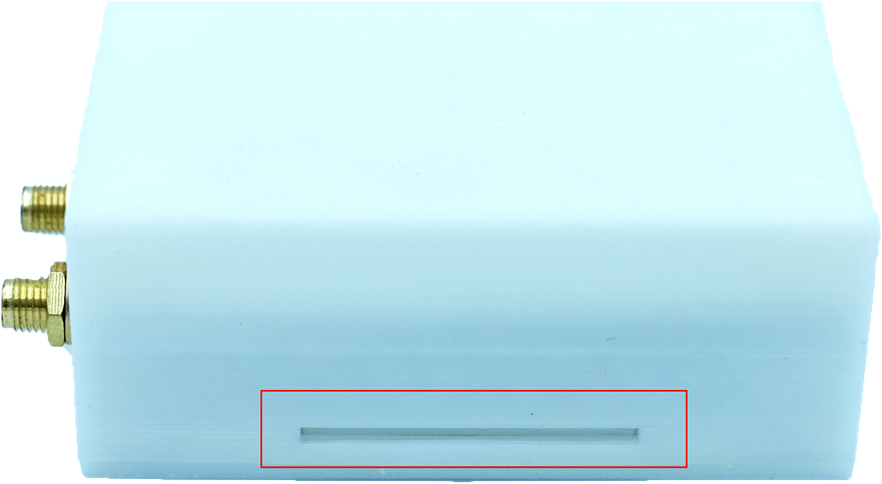
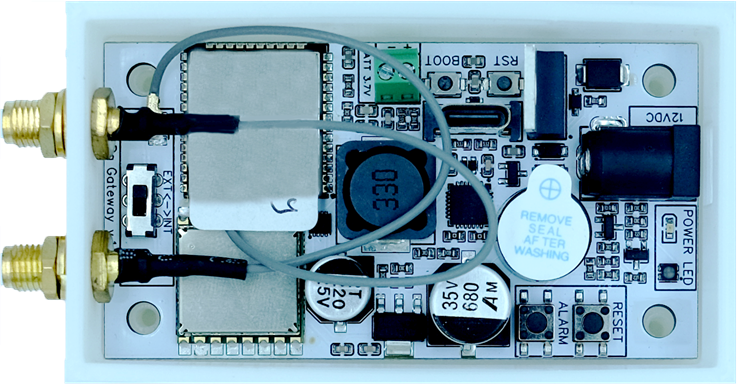
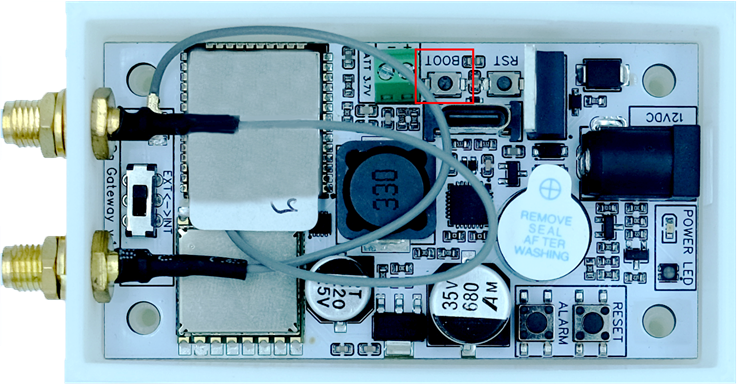
The device has a Type C USB port inside. Open the enclosure to reveal the port.
Flashing the Firmware
1. Plug the Type C cable into the device’s USB Port.
2. Plug the cable to your PC.
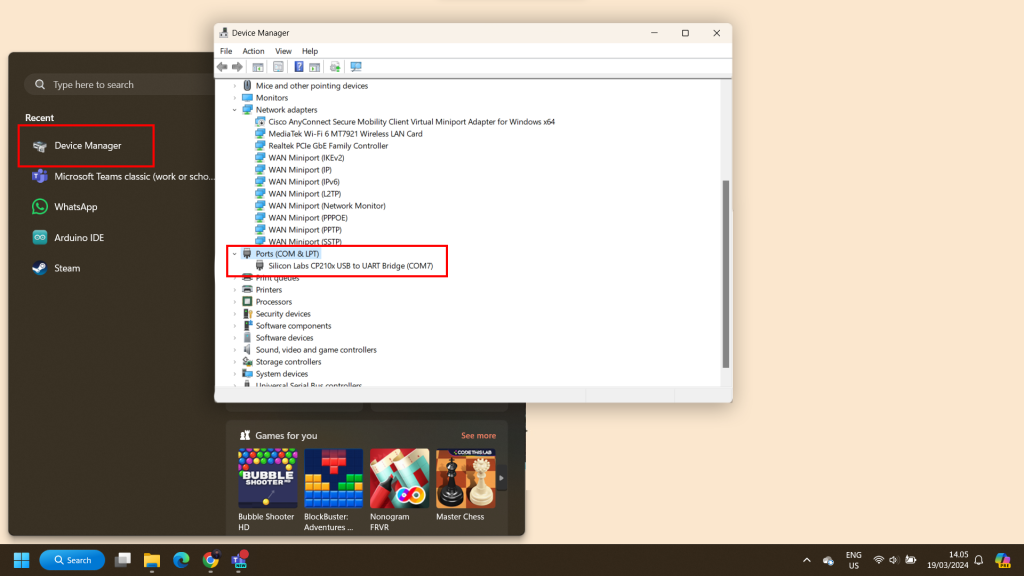
3. To understand on which COM port your USB is connected you can open Device Manager.
4. Then go to Ports. You will see on which COM port the device is connected.
5. Download the firmware here.
Flashtool-LoRa-Gateway.zip
6. Extract the file.
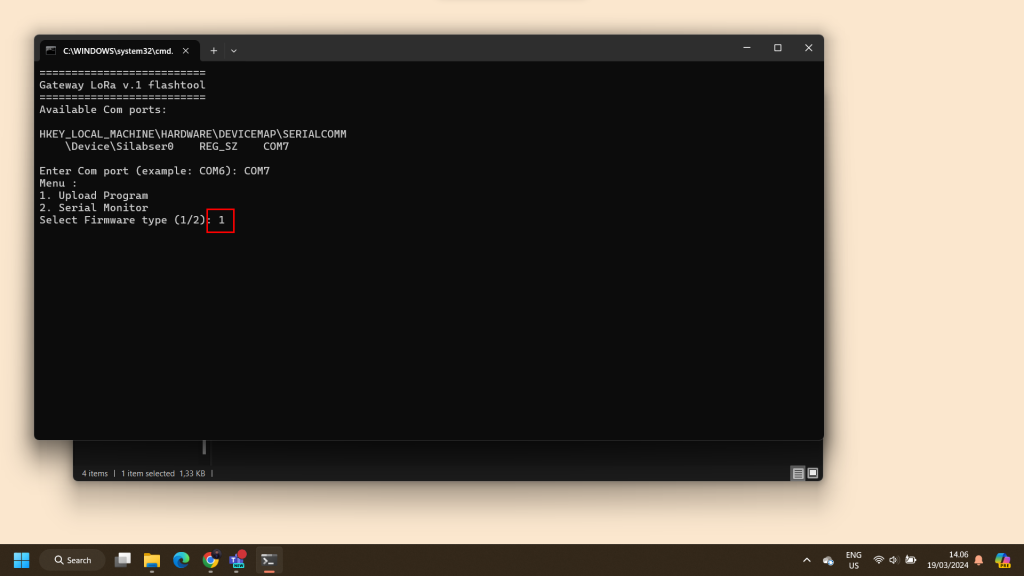
7. Go to Run.
8. Enter the COM Port.
9. Type 1 to continue the installation.
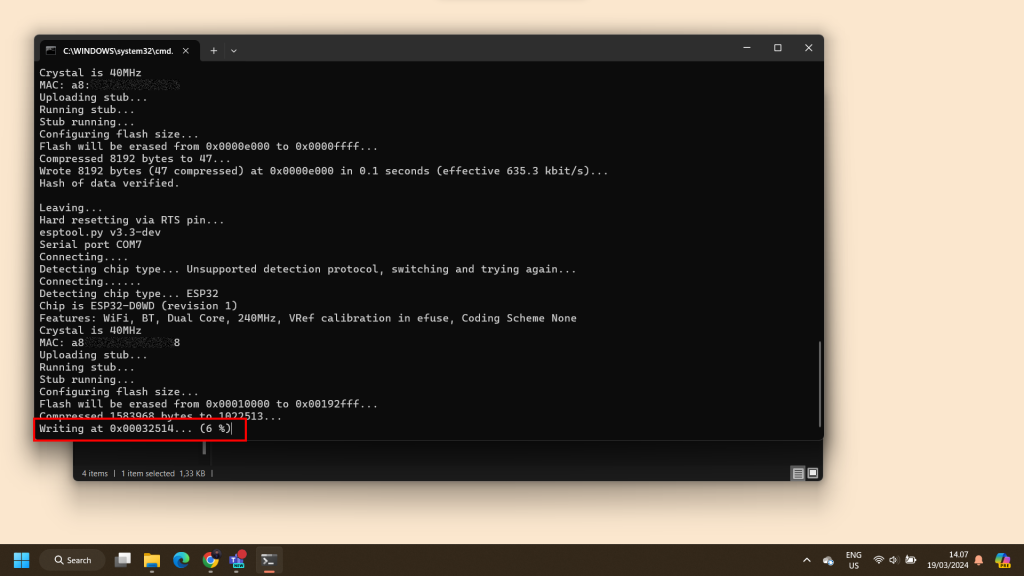
10. If the installation isn’t started yet and the CMD window still display ‘Unsupported detection protocol, switching and trying again…’ push the BOOT button on your device so the chip can be detected.
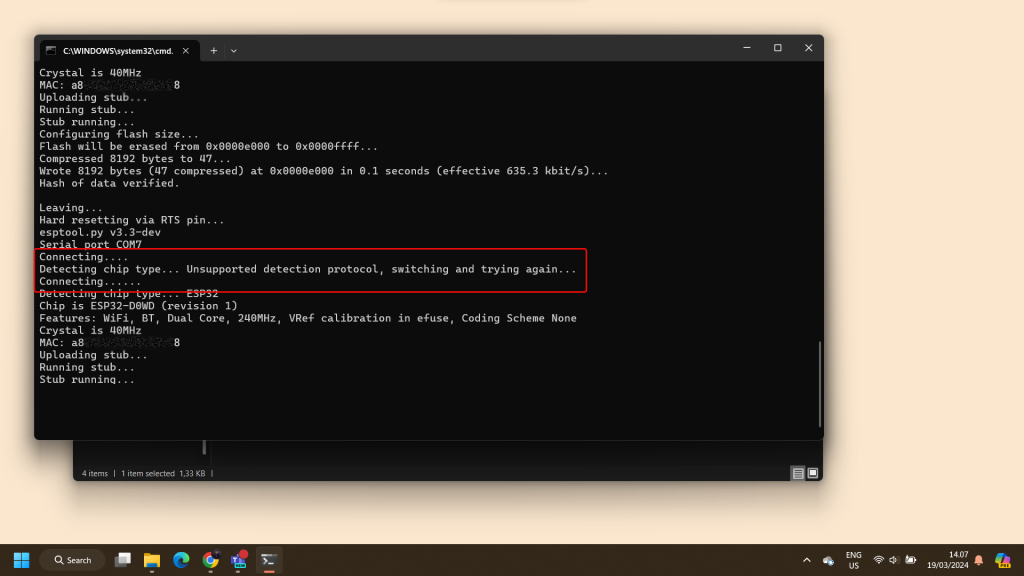
11. The installation will begin.
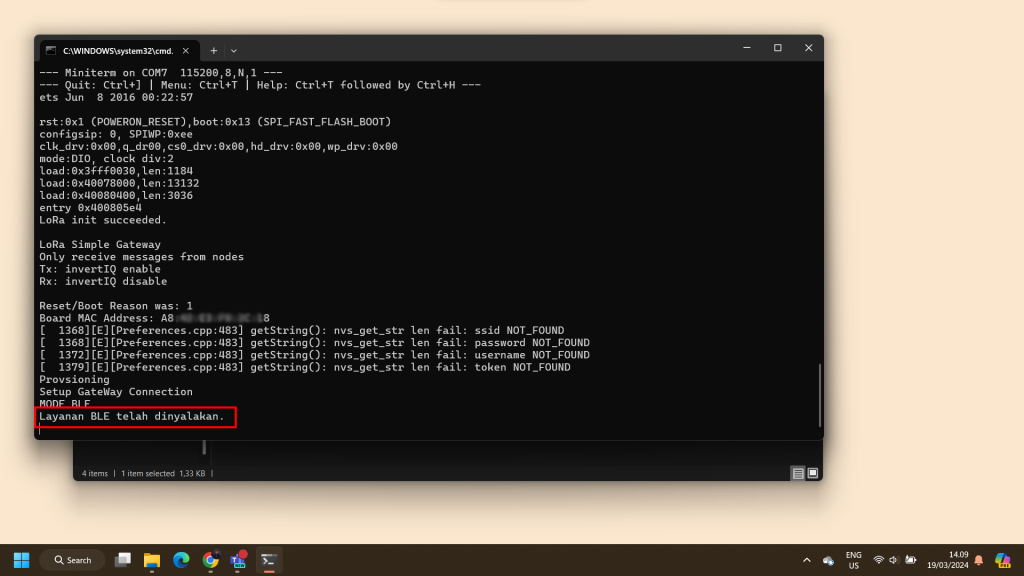
12. After the firmware successfully installed, the gateway will activate its BLE, and you need to go your phone to continue the process.
Add LoRa Gateway to the Platform
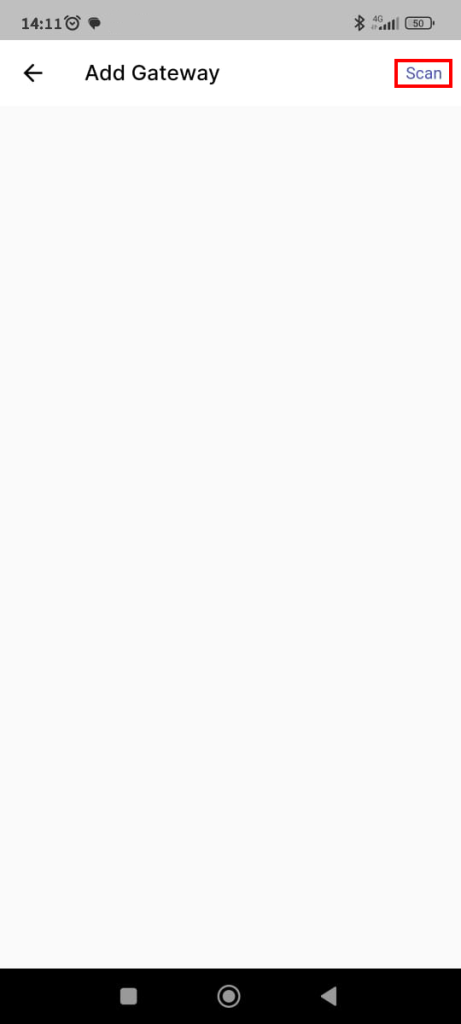
Since the device activating its BLE, you need to download the IoT Stadium Mobile App here to add the LoRa Gateway into the IoT Stadium platform.
1. Download the Mobile App from the Google Play Store with the name IoT Stadium.
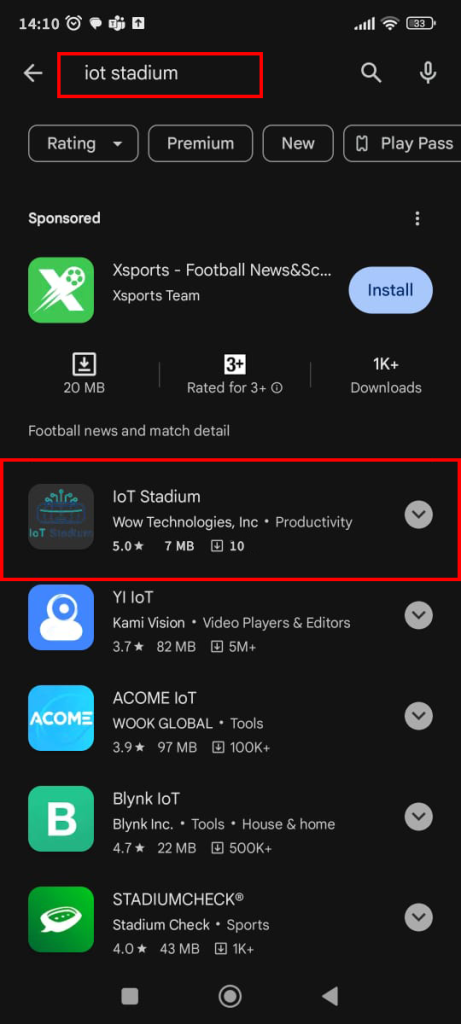
2. Install and open the app.
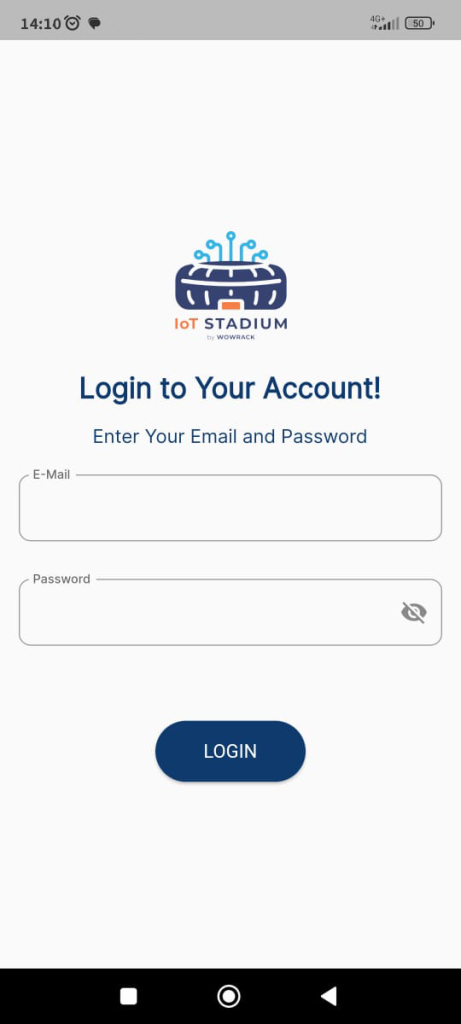
3. Enter your Email Address and Password of IoT Stadium Account, then click Login.
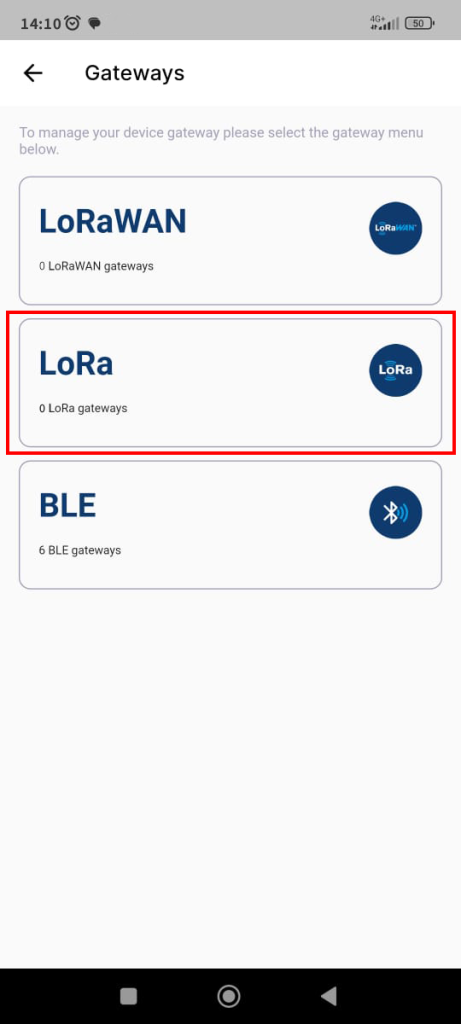
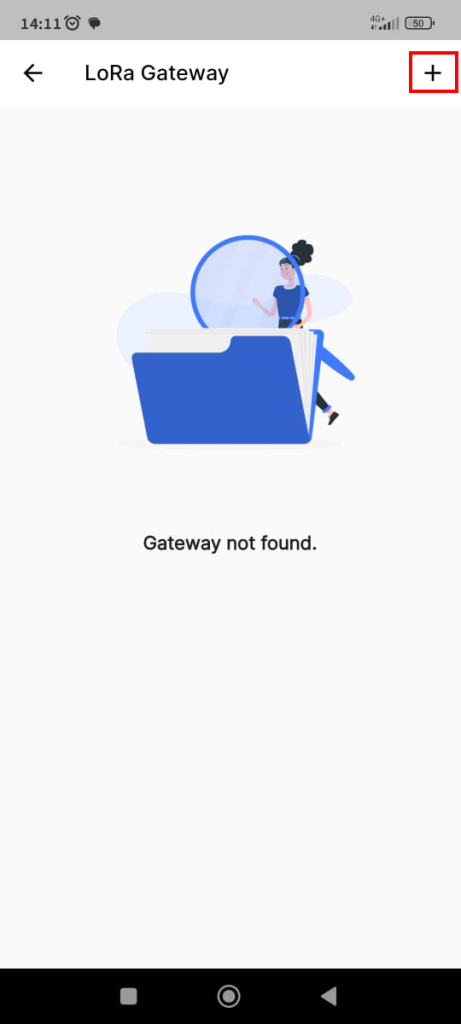
4. Click the bar icon on the top right of your phone’s screen.
![]()
8. Allow the IoT Stadium to turn on your Bluetooth.
tips: make sure you already activated the location detection feature of your phone.
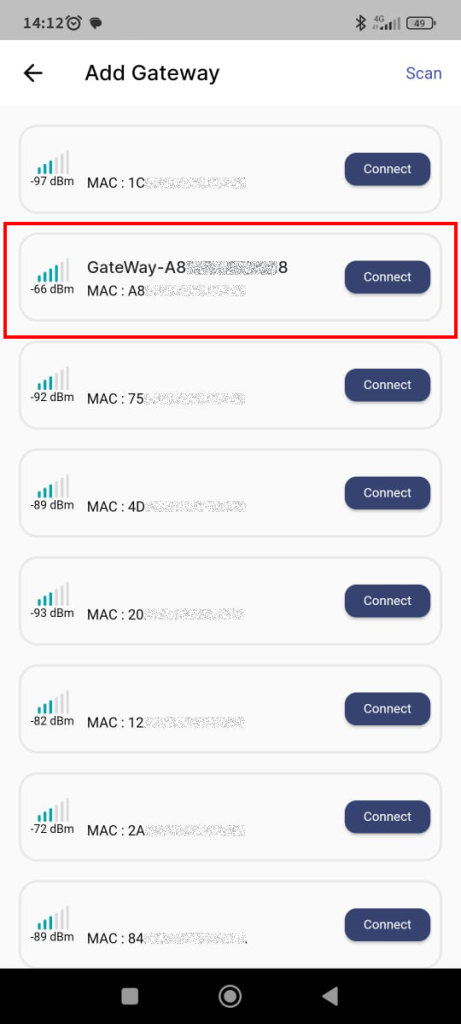
10. Select the Gateway-A8*********8, and click on Connect.
*note: the number or code of LoRa Gateway depends on its chip code.
11. Give the name for your device.
12. Enter your selected W-Fi by entering its SSID name and its Password.
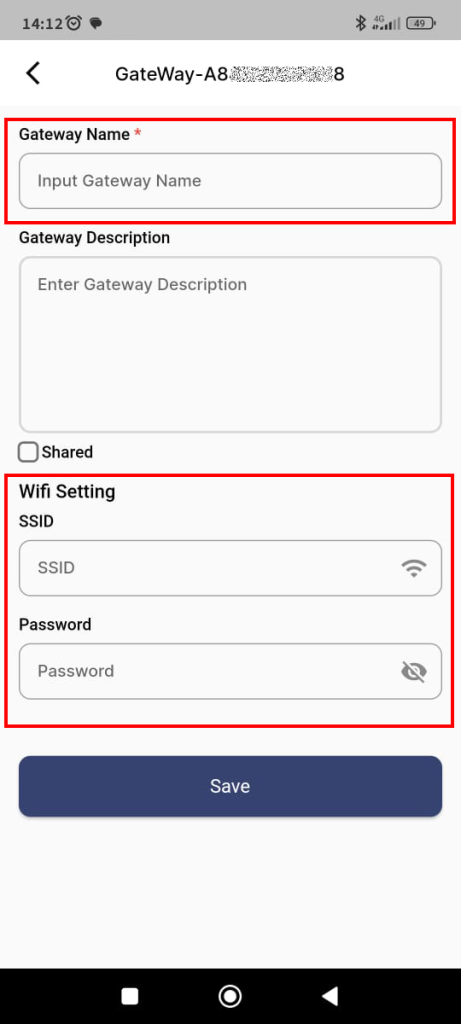
13. Click Save when done.
14. Your gateway will be added to the platform.


